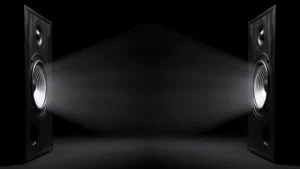
Stripping speaker wire is a simple process that ensures a good connection for clear sound. This guide will show you the steps needed to strip speaker wire properly.
In This Article:
Essentials of Speaker Wires
Gauge Details
Speaker wire comes in different gauges, which measure the wire’s thickness. Thicker wires (lower gauge numbers) are better for longer distances or high-power setups. Common gauges are 12, 14, 16, and 18. For most home audio systems, 16 or 14 gauge works well.
Length Considerations
The length of the speaker wire affects sound quality. Longer wires can cause signal loss, so choose the right length for your setup. Measure the distance from your audio source to the speakers and add a little extra to ensure it reaches comfortably.
Preparation Steps
Before starting, make sure you have enough wire for your needs. Measure and cut the wire to the desired length. Check that the wire is not damaged or frayed, as this can affect sound quality.
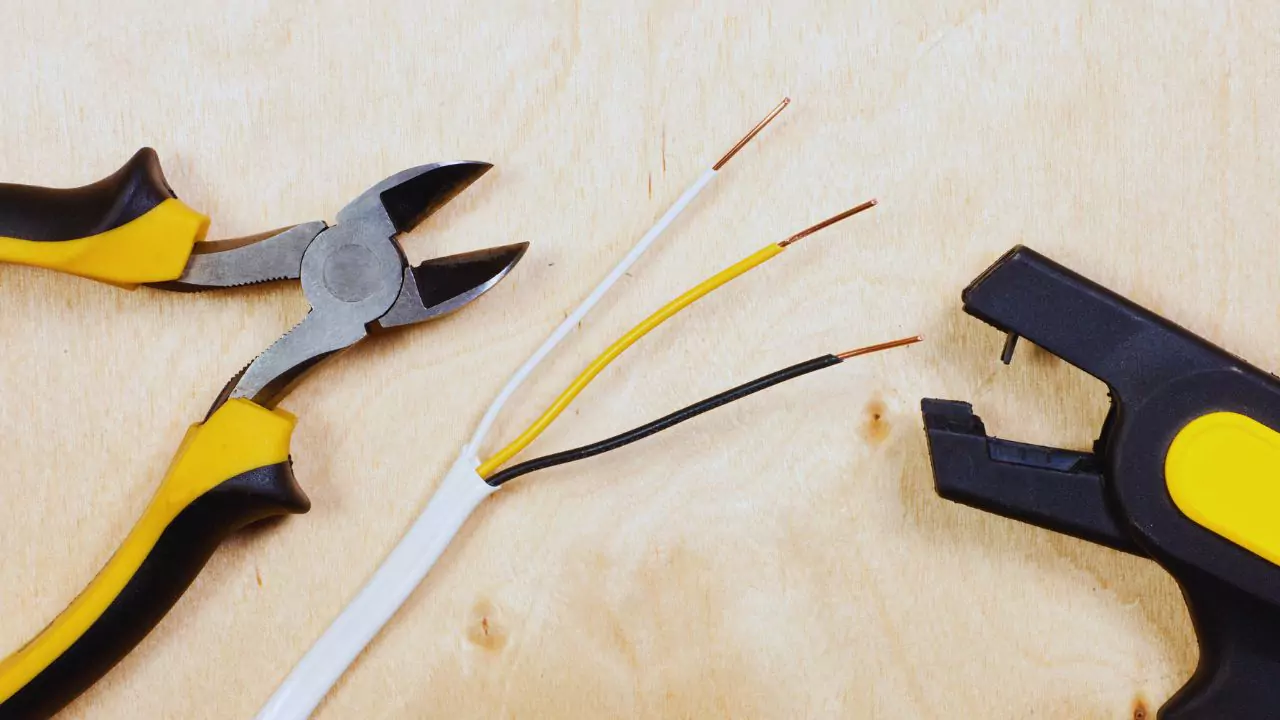
Required Tools
You will need a few basic tools to strip speaker wire:
- Wire strippers or a utility knife
- A ruler or measuring tape
- A marker or tape to mark the wire
Steps to Strip Speaker Wire
Selecting Appropriate Tools
Choose wire strippers that match the gauge of your wire. Some wire strippers have adjustable settings for different gauges. If you don’t have wire strippers, a utility knife can work, but be careful not to cut the wire itself.
Preparing the Wire for Stripping
Lay the wire flat on a surface. Use the ruler to measure about 1 to 2 inches from the end of the wire. Mark this spot with a marker or tape. This is where you will strip the insulation.
Removing the Plastic Casing
Place the wire in the appropriate slot of the wire stripper, aligning it with the marked spot. Squeeze the handles of the wire stripper firmly and rotate it around the wire to cut through the insulation without damaging the wire. Pull off the insulation to expose the bare wire. If using a utility knife, gently score the insulation at the marked spot, then bend and pull off the insulation.
Preventing Wire Damage
Be careful not to nick or cut the wire strands when stripping the insulation. Damaged wires can cause poor connections and affect sound quality. Take your time and use the right amount of pressure.
Techniques for Connecting Speaker Wires
Utilizing Connectors
After stripping the wire, you can attach connectors like banana plugs or spade connectors. These connectors make it easier to plug into your audio equipment. Slide the connector onto the bare wire and secure it according to the manufacturer’s instructions.
Linking to Devices
Connect the stripped ends or connectors to your speakers and audio source. Ensure the positive and negative terminals match correctly to avoid phase issues, which can affect sound quality.
Checking Sound Quality
Once connected, test the sound quality by playing audio through your system. Listen for any issues like crackling or distortion, which may indicate a poor connection. Adjust as needed to ensure a clear, strong connection.
Handling Special Cases
In some setups, you might need to connect multiple wires together or use thicker wires for high-power systems. In these cases, use wire nuts or terminal blocks to secure connections. Always double-check that all connections are tight and secure to avoid any sound quality issues.
By following these steps, you can strip and connect speaker wire effectively, ensuring a high-quality audio experience. Properly prepared and connected wires make a big difference in the performance of your sound system.