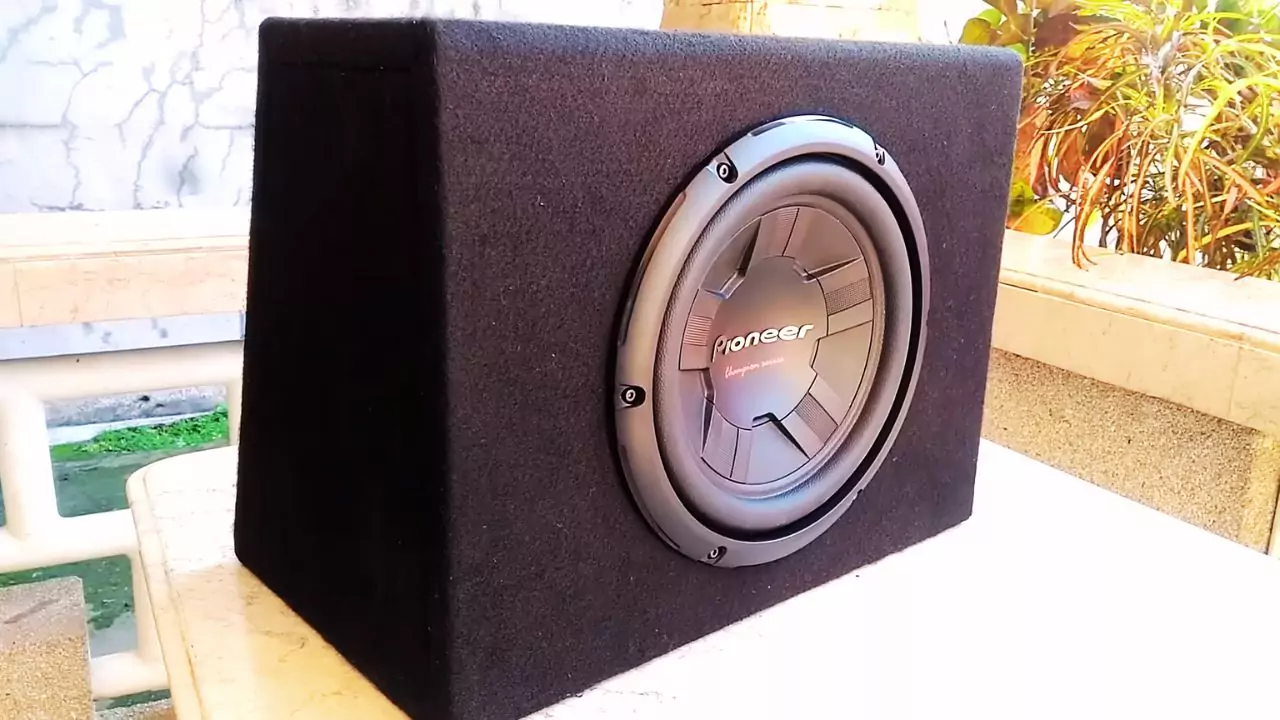
To port a sealed sub box for better sound, you add an opening or port to the box, so air moves in and out. This port will cause a variation in how your subwoofer will work, as increasing airflow makes the bass seem louder and deeper. When you apply these steps, you can guarantee the job will be done correctly, thus improving the sound without damaging your subwoofer.
In This Article:
Materials You Will Need
For starters, compile this list:
- Sealed subwoofer enclosure
- Drill and drill bit
- Jigsaw or hole saw
- Coarse and fine medium-sized sandpaper
- PVC pipe or pre-fabricated subwoofer port tube
- Ruler or measuring tape
- Silicone sealant or wood glue
- Bolts (if used as secondary bracing)
And, with such tools and materials, an otherwise sealed ported one can easily be converted.
Step 1 – Port Sizing and Orientation
Volume of the Box
The volume of the box will determine how large and how long the port must be. Calculate from the inner dimensions of the box. Measure the width, height, and depth inside the box. Multiply these three measurements to find the volume in cubic inches. Convert that number to cubic feet by dividing by 1,728 (since 1 cubic foot equals 1,728 cubic inches).
Calculate the Port Size
Choose a port size that matches your subwoofer’s size. You can use an online port calculator to find the right port dimensions based on your subwoofer model and box volume. This helps the port produce the best bass frequencies for your setup.
Select the Port Location
Most of them go to the face or side of the box. Choose an area that provides at least enough breathing room for a port but does not restrict it. Leave some spaces between a subwoofer driver and a port so they do not touch each other.
Step 2: Cut the Port Hole
Mark the Hole
Once you have determined where the port would go, then mark the location on the box. Use the diameter of the port tube to draw the circle for the hole.
Drill the Starter Hole
Drill into a small size start hole inside of that marked circle. Take this time to insert the jigsaw or the hole saw to cut the port hole.
Drilling a Hole
Cut the circle carefully with a jigsaw or hole saw. Give your time to get that perfect clean cut. Messy edges can mess up the whole fitting of the port thereby leading to poor quality audio.
Sand the Edges
Using medium-grit sandpaper, plane the cut edges. Then using fine-grit sandpaper, finish the planing of edges. Well-planed edges will give the best fit of the port tube and prevent leakages of air.
Step 3: Mounting Port Tube
Fit the Port Tube
Push the PVC pipe or port tube through the hole. It should go in quite nicely, with not too much gap at the edges. Use a slightly bigger tube if it is rather loose, or sealant in those gaps.
Lock the Port Tube
Fill in along the outer edge of the tube at the point it contacts the box with silicone sealant or wood glue. This will seal the port in adequately and prevent it from being disturbed. Hold the tube in place until the glue or sealant dries, and the fit will be tight.
Confirm the Length of the Port
The length of the port tubes depends on the bass sound. The port tube may depress frequencies too far if too long. Trail the dimensions required based on subwoofer specs or calculate the port from dimensions. Cut the tube into the correct length before final installation.
Step 4: Test for Air Leaks
Then, check for leaks around the box after the port tube has been installed. Any leak in the tube will hamper its sound quality.
Seal Any Gaps
Fill in any gaps around the port tube, the speaker wire openings, or other holes with silicone sealant. If you see air leaking at any point around the box include a bit of seal there as well.
Allow it to dry.
Let this liquid sealant dry completely before the test of the subwoofer. This seals the box entirely but with a port hole. Upon drying, only air would pass via the opening port.
Step 5: Test the Subwoofer
Now, the port is set up. Connect it to your audio system, play a track with deep bass, and have a listen at how the bass sounds.
Compare Audio Quality
A ported design will make the sound feel more powerful, with deeper and louder bass notes. If the sound is too muddy or lacks punch, it’s likely that the port length is too short and needs to be adjusted a little.
Fine-Tune the Port Length, if necessary
Some minor adjustments can make the bass sound rich in audible quality. You may have to shorten the port tube by an inch or so, depending on your preference. Be sure that you seal any gap when you change its length.
Extra Tips
- Port Tube: Quality Material Must Use Material PVC pipes or special port tubes instead of flimsy material which will vibrate with the bass.
- Use Right Sealant: Silicone can be used to seal the air gaps perfectly. It is flexible, strong, and durable.
- Test Different Lengths: Each Configuration is Unique. Small changes in port length make quite a difference in the sounds generated.
- Avoid Overloading the Subwoofer: Porting increases bass but also puts more stress on the speaker. Maintain reasonable levels to prevent damage.
Benefits of Porting a Sealed Sub Box
A porting sub allows for more intense, solid bass. The port moves air by the frequencies of the bass, and this, in time, makes the sound louder and fuller. It is often very well-liked for music that requires heavy basses, such as hip-hop or electronic-style music. It could just transform quite a simple sealed design into something much much more dynamic and fun to listen to.
It also makes the subwoofer more efficient in achieving high levels of bass because it lowers the power required. This is also a budget-friendly way of augmenting sound without necessarily buying a new subwoofer. Properly installed, a ported sub box is going to yield deeper and louder bass for your audio system.
Conclusion
Porting a sealed subwoofer box is an easy procedure that significantly improves the bass output; therefore, with proper calculation of port size, adequate cutting of the box, and installation of a secure port tube, the bass sound becomes considerably stronger and much more dynamic. Use the steps above to make your subwoofer sound fuller and louder.


