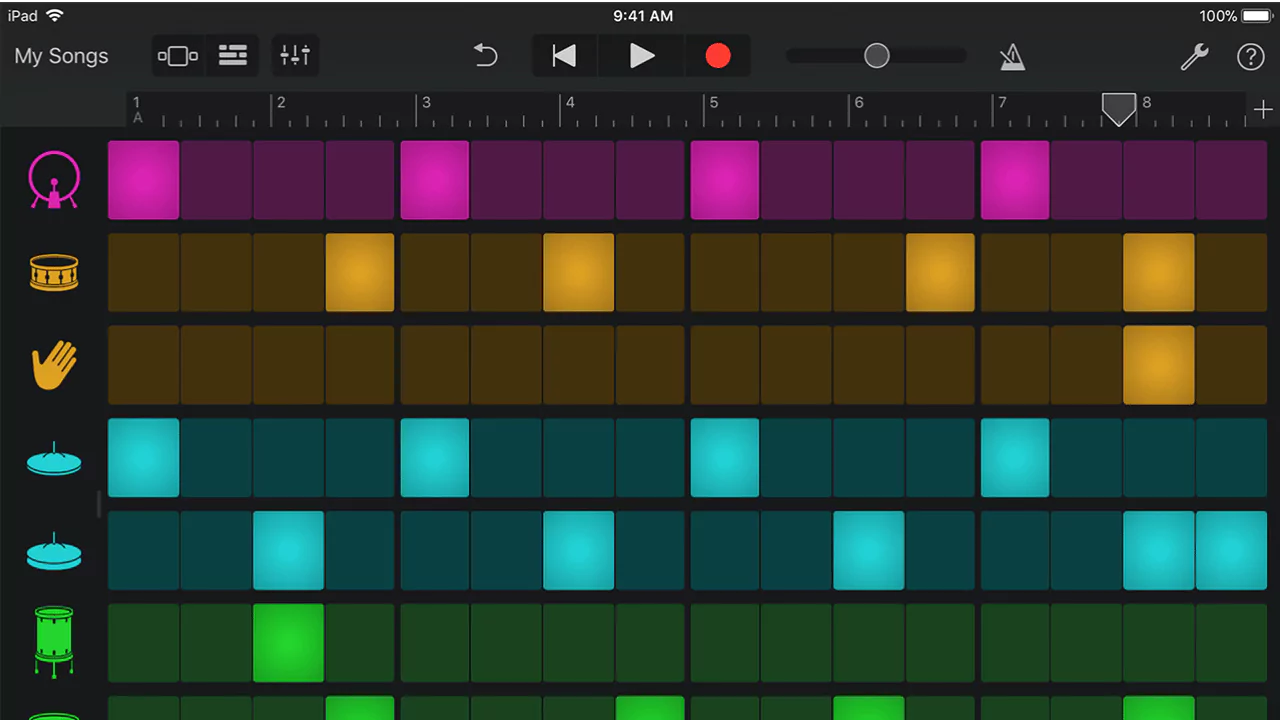
Now, making quick Hip Hop beats in GarageBand has become quite easy. You do not need any experience or any professional background check to create the beats.
If you are a beginner, we bring you a perfect tutorial where you get to show your creativity within the least possible time. We will also help you to understand how you can avoid common mistakes so that the outcome can be fascinating.
To make a beat in GarageBand, you have to click on the Loop icon after you launch the GarageBand. Next, choose the Melodic Apple loop and open the Drama Track. For that, you have to press either of these commands – ⌥ + ⌘ + U. Now, use any of the Hip Hop drummers, Maurice, Anton, or Dez. Finally, you would get a perfect beat created in GarageBand.
Now, this guide will help you if you want to avoid mistakes and get to know about the step-by-step process.
In This Article:
What is the basic process of creating beats on GarageBand?
There is a process that you need to follow as part of the basic music production, as follows:
- Choose an instrument
- Record tracks
- Lay down a drum beat if required
- Lay down vocals
- Create a master track by mixing your song
- Give a final touch to the sound
Not just Hip Hop beats, but you can create music of any style and choose any genre of beats for music production. Also, you do not have to follow these basic processes in the exact order provided.
You can lay the drum beat at first and then decide to add the vocals, and the choice is completely yours. However, the first criterion to make the beat is to install the GarageBand in your Mac.
In case the DAW is not pre-installed, you can easily get it from the App Store using your Apple ID. Other than Macbook, you can also use the app on your iPhone and iPad, and the process is quite similar on all these devices.
You can also use physical instruments or live vocals to get an audio interface or connect directly to the Mac for recording purposes.
How to make beats on GarageBand?
There are many ways to make beats on GarageBand, but here we have discussed the 8-bar musical project. So, once you are able to understand the process, you can add your own creativity and make changes to the music production to make it more engaging.
Step 1: Starting a project in GarageBand
This is the first step where you have to start a new project in GarageBand. So, launch the GarageBand app. Go to the menu and select File > New. You can also use the command COMMAND+N to open a new project. Next, select an Empty Project option to initiate the creation. Select Audio Instrument as your track type. Otherwise, you can also start with software instruments or a drum track.
While creating an audio, you will get three options:
- Record a physical instrument by plugging it into your Mac or through any audio interface.
- Using the microphone to record live vocals.
- To get Royalty audio loops, you can also use the Apple loops library. Here, you will get short segments of music that can be collaborated.
Step 2: Choose the look
You will get a variety of Apple looks to choose from, starting from instruments and genres. You can also go for a Groovy Synth loop for a basic start.
Click on the icon that looks like a loop of a hose at the top right area of the workspace. Now, select the Loop Browser. Through the Loop Packs menu, browse the loops and select your particular loop. You can also use the command “O” to toggle on one off the Loop Browser. Also, if you want to listen to each of the loops, then select it using the cursor.
Step 3: Creating an audio track
Take the selected loop in the track area, either by dragging or dropping it, to create a new audio track. By grabbing the edges and dragging them, you can extend the loop. Try to make it 8-bars in length rather than 4-bars. You can also do this by duplicating the 4-bar. Now, set the loop to play on repeat. The result is the first track that you have made using the 8-bar loop.
Do you want to add another track using a software instrument?
Here are the steps that you need to follow if you are using a software instrument:
- At the top of the track header region, you will find the + icon. Select it to add a new track.
- Other than this, you can also use the shortcut OPTION+COMMAND+N to add the track.
- Now, select a software instrument, and you will find that a new software instrument track has been added to the tracks area.
- Next, get to the Sound Library and select the Software Instrument.
- Finally, the selected Software Instrument will get assigned to the new track. You can choose Ensemble for the start.
How to record music to the new track using MIDI?
Using the MIDI, you get to record the information about the music played. You can understand the notes, timing, duration, and other ranges of MIDI instruments, including software instruments.
You will find that based on the loop used in the first track, GarageBand has already laid the project automatically. Now, if you are willing to add notes or chords to the second track, you can do it by playing or recording through a MIDI keyboard, orMIDI controller, or your Mac keyboard.
Using the software string in bars 3 to 4 and 7 to 8, you can add a bit of a “Riser” note. You can do this using musical typing alongside recording Live MIDI notes.
Here are the steps that you need to follow:
- You can select 4 4-beat count, which is totally optional.
- Next, using the max keyboard, you can set up your MIDI input device. You can also choose to set the keyboard to a higher octave.
- Start recording the notes, and once you are done playing the notes, you can stop the recording.
- You can also use the spacebar to start or stop the playback for your project.
- You can also use the R button to start and stop recording.
How to Work with Piano Rolls?
After recording, you can go through the notes. In the Piano Roll, check the pitch and timing. As you double-click on the top of the track, the option for Piano Roll will appear. You can also edit the notes if required. You can also quantize all the notes through the MIDI region by choosing the option Quantization-timing. Remember to choose the strength of quantization.
How to create a physical Instrument Track?
You can also use a guitar or any other instrument to prepare a physical instrument track. Connect the guitar to GarageBand, either directly or using any connector through an audio interface. Now, select the + icon located at the Track Header region and add a new track. You can also use the OPTION+COMMAND+N shortcut. Click on the guitar icon and create an Audio track. Finally, control the sound and set your audio. You can adjust these settings based on your preference.
Next, start recording using a physical instrument. Initiate the recording process for your notes, and once you are done playing the notes, stop the recording. You will find the changes in the waveform. If required, you can edit and quantize the track.
Mastering Stage – The Final Stage
When you are done with recording all the tracks, you have to mix the track balance based on the relative volume and panning. Here, you get the option to set the volume and pan for each track. Keep adjusting the setting until you are satisfied.
You can also add effects to the track, where each track has a preset patch. If you want to adjust the effect of the track, you can do so. You can also add fade-in and fade-out features for individual tracks. Otherwise, you can also try to crossfade between the tracks.
The last step to make beats on GarageBand is to master the project. You can use the shortcut SHIFT+COMMAND+M and select the Master Track header. Next, select a preset master patch and adjust the individual settings of the patch. If required, you can also adjust the master patch settings. Adding the final touch, your beat is ready in GarageBand.
Is GarageBand best for beginners?
GarageBand is the best DAW for aspiring musicians who have just started their journey towards music editing and production as a career. This tool helps to build a strong concept about the features, and it is user-intuitive. Moreover, GarageBand comes for free, and you can use it on any Apple-based device.


