Building your own amplifier can be a rewarding project, but it’s important to consider a few things before diving in. This guide will walk you through everything you need to know, from planning to troubleshooting.
In This Article:
Things to Consider Before Starting
Level of Experience Needed
Building an amplifier requires some experience with electronics. Familiarity with soldering, reading circuit diagrams, and working with electronic components is helpful. If you’re new to electronics, there are plenty of beginner-friendly resources and kits available online. These kits often come with pre-soldered circuit boards and detailed instructions, making them a great way to gain experience before tackling a more complex build from scratch.
Required Tools
You’ll need a soldering iron and solder with a relatively thin tip for working with small electronic components. Wire cutters and strippers will be necessary for preparing wires to the appropriate length. A multimeter is essential for testing voltage, current, and component resistance throughout the building process. Depending on your chosen chassis, you might also need a drill and Dremel for making modifications for buttons, knobs, and input/output jacks.
Time and Cost
The time it takes to build an amplifier depends on your experience and the complexity of the design. A simple amplifier kit designed for beginners can be assembled in a few hours, while a more advanced design from scratch might take several days or even weeks. The cost will also vary depending on the parts you choose. Amplifier kits are a budget-friendly option, typically costing between $50 and $100. Building from scratch offers more customization but requires purchasing individual electronic components, which can add up in price depending on the chosen circuit’s complexity.
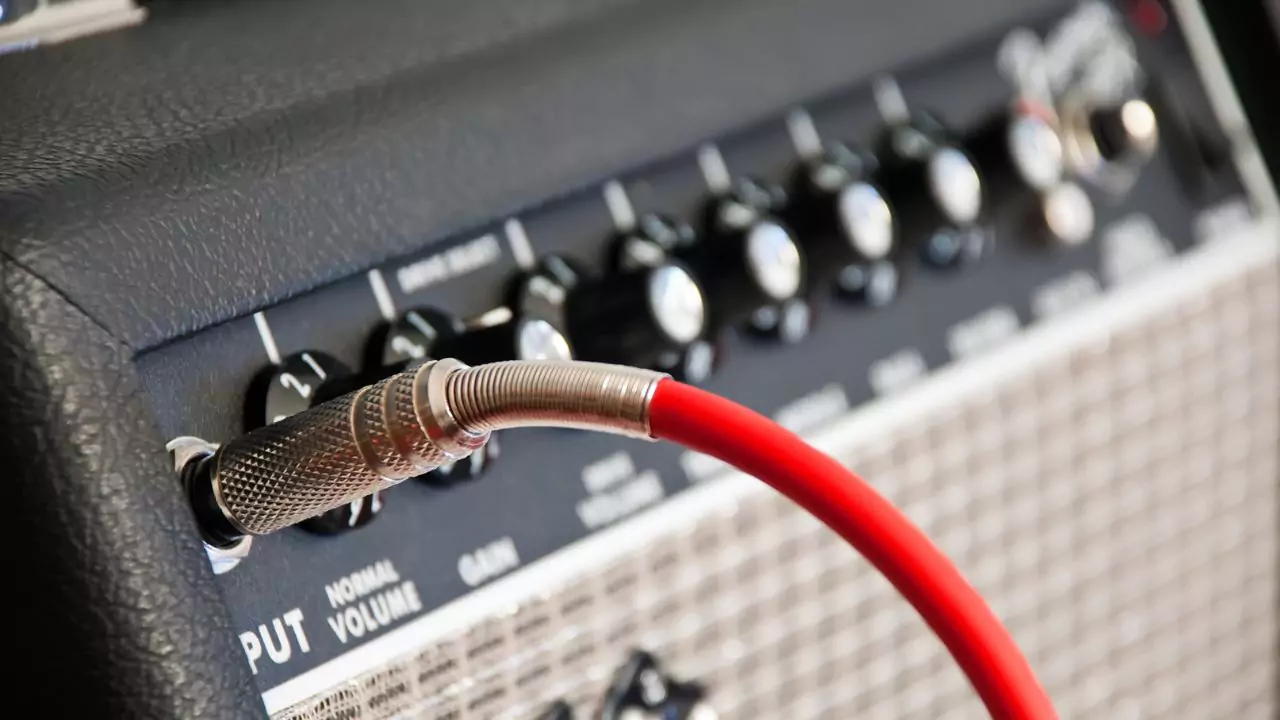
Finding a Chassis
The chassis houses and protects your amplifier circuit. Pre-made metal project boxes are readily available online and come in various sizes. They often include mounting holes and ventilation slots, making them a convenient option for beginners. If you’re looking for a more customized look, you can build your own enclosure out of wood or acrylic. This route requires more planning and fabrication work but allows for a unique design tailored to your needs.
Designing and Building the Amplifier
Once you’ve considered the factors above and chosen a suitable amplifier circuit design, you can begin the building process:
Power Supply Voltage and Power
The amplifier circuit diagram will specify a voltage range for the power supply. You’ll need to choose a transformer and rectifier circuit that can provide the required voltage and current to operate the amplifier effectively. The amplifier’s output power also needs to be compatible with your speakers. Speakers have an impedance rating (measured in ohms) that needs to match the amplifier’s output impedance for optimal performance. Mismatched impedance can lead to lower sound quality or damage to the amplifier or speakers.
Heat Sink Size
As mentioned earlier, amplifiers generate heat during operation. To prevent overheating and potential component failure, you’ll need a heat sink that can adequately dissipate this heat. The size and type of heat sink are determined by the amplifier’s power output. Most circuit diagrams will recommend a specific heat sink or provide guidelines for choosing an appropriate one based on calculations involving power dissipation.
Calculating Component Values
Some amplifier circuits may require specific values for certain components like resistors and capacitors. These values are usually listed on the circuit diagram and might involve calculations based on the desired performance or operating voltage. If you’re unsure about any calculations, there are online resources and electronics forums where you can seek help from experienced hobbyists.
Ground Layout
Proper grounding is crucial for minimizing electrical noise in your amplifier, which can manifest as unwanted humming or buzzing in the sound output. The ground layout refers to how the circuit’s ground connections are made. Most circuits will have a designated grounding point, often indicated by a star ground symbol on the circuit diagram. This point serves as the central reference for all ground connections within the circuit. Following the recommended grounding layout is essential for maintaining a clean audio signal.
The Amplifier’s Performance
Sound Quality
Once you’ve successfully built and powered on your amplifier, it’s time to connect your speakers and enjoy your creation! The sound quality will depend on several factors, including the chosen circuit design, the quality of the electronic components you used, and how well you followed the construction instructions. Take some time to listen for any distortions, unwanted noise, or imbalances in the sound output.
Potential Issues
If you encounter any problems with your amplifier’s performance, don’t be discouraged. Troubleshooting is a common part of the electronics building process. Double-check your soldering connections for any shorts or missed connections. Verify that you’ve used the correct components with the specified values. Ensure that the speaker wires are properly connected to the amplifier’s output terminals, maintaining correct polarity (positive and negative). If you’re still having trouble, there are many online communities and forums dedicated to electronics where you can describe your issue and seek help from experienced builders who can offer guidance specific to your chosen circuit design.