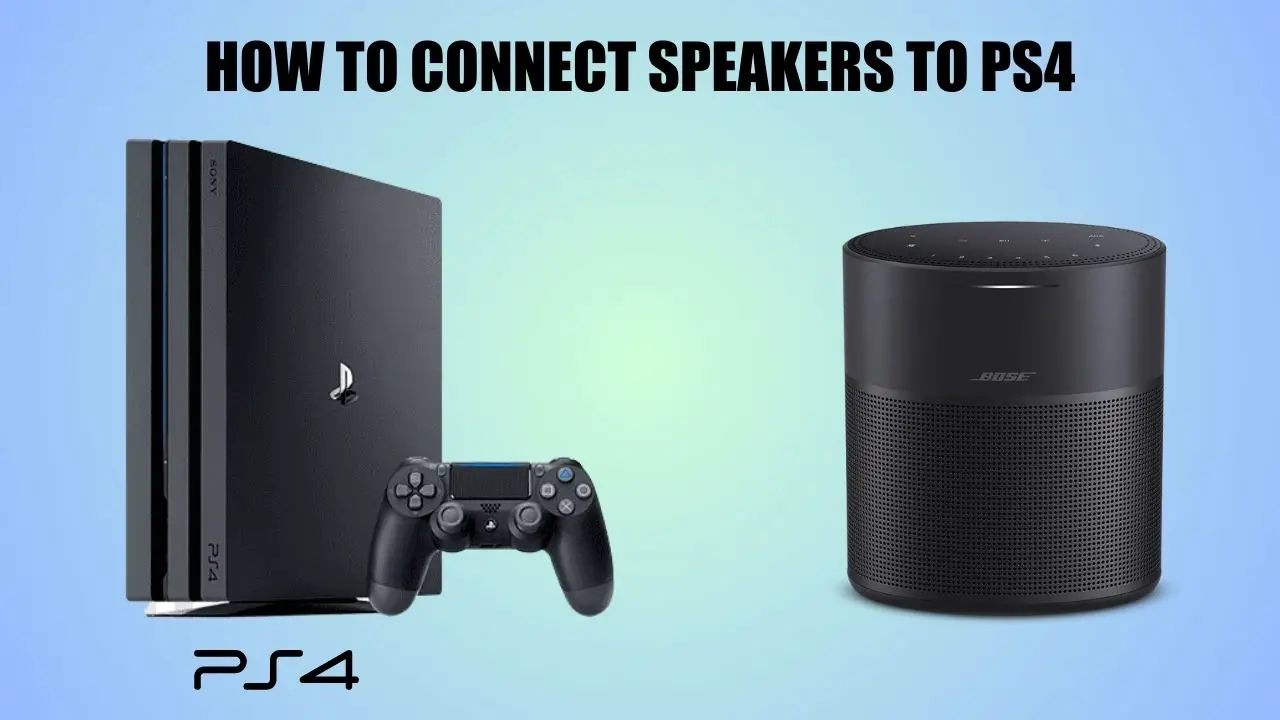
To connect speakers to your PlayStation 4 (PS4) gaming console, you have several options to choose from. Depending on the type of speakers you have and the inputs and outputs available, you can use a wireless speaker with a 3.5mm audio cable, headphones with a 3.5mm auxiliary cable, an optical audio cable for speakers with an optical input, or an audio extractor for speakers without an optical input.
These methods allow for high-quality audio output and can enhance your gaming experience by providing a more immersive sound experience.
Choose the method that best fits your needs and enjoy your games with crystal-clear audio.
In This Article:
Method 1: Using Wireless Speakers
One of the easiest ways to connect speakers to your PlayStation 4 (PS4) gaming console is to use wireless speakers. Although the PS4 does not support Bluetooth connectivity, you can still stream audio to wireless speakers using a 3.5mm audio cable connected from the PS4 controller to the speakers. Here’s how to set it up:
Step 1: Purchase A 3.5mm Audio Cable
To connect your PS4 to your wireless speakers, you’ll need a 3.5mm audio cable with a headphone jack on both ends. You can purchase one online or at your local electronics store.
Step 2: Connect The Audio Cable to The PS4 Controller and Wireless Speakers
Connect one end of the audio cable to the headphone port on the bottom of the PS4 controller. Connect the other end to the “Audio In” or “Aux In” port on your wireless speakers. This should establish a hard-wired connection between the PS4 controller and the speakers.
Step 3: Turn On Your PS4
With the audio cable connected to your PS4 controller and your wireless speakers, turn on your PS4 and sign in to your account.
Step 4: Navigate to Audio Devices in Settings
Once you’re signed in, navigate to Settings > Devices > Audio Devices. This is where you can configure your audio settings.
Step 5: Select “Headset Connected to Controller”
Under “Output Device,” select “Headset Connected to Controller.” This tells the PS4 to output audio through the connected headphones or speakers.
Step 6: Choose “All Audio”
Under “Output to Headphones,” select “All Audio.” This ensures that all PS4 audio is played through the connected speakers.
Step 7: Turn On Your Wireless Speakers
Turn on your wireless speakers and adjust the volume to your desired level. You should now hear audio from the PS4 menus and games through the connected speakers.
Method 2: Using Headphones
Next simple option to connect speakers to your PlayStation 4 (PS4) is to use headphones. You can connect headphones to your PS4 controller using a 3.5mm audio cable or the headphone jack built into the controller. Here’s how to set it up:
Step 1: Purchase A 3.5mm Audio Cable (If Needed)
If your headphones do not have a 3.5mm connector, you’ll need to purchase a 3.5mm audio cable to connect them to the PS4 controller.
Step 2: Connect The Headphones to The PS4 Controller
Connect your headphones to the audio cable or directly into the headphone port on the bottom of the PS4 controller. This establishes a hard-wired connection between the headphones and the controller.
Step 3: Turn On Your PS4 and Controller
With the headphones connected to the PS4 controller, turn on your PS4 and controller and sign in to your account.
Step 4: Navigate to Audio Devices in Settings
Once you’re signed in, navigate to Settings > Devices > Audio Devices. This is where you can configure your audio settings.
Step 5: Select “Output to Headphones”
Under “Output to Headphones,” select “All Audio.” This tells the PS4 to output all audio through the connected headphones.
Step 6: Adjust The Volume
You should now hear audio through your connected headphones. Adjust the volume using the PS4 menu, in-game settings, or controls on the headphones.
Method 3: Using an Optical Audio Cable
If your speakers support optical audio, another option to connect them to your PlayStation 4 (PS4) is to use an optical audio cable. This method provides high-quality audio output and eliminates the need for additional cables or adapters. Here’s how to set it up:
Step 1: Purchase an Optical Audio Cable
To connect your speakers to your PS4 using an optical audio cable, you’ll need to purchase an optical audio cable with two TOSLINK connectors on each end. You can find these cables online or at your local electronics store.
Step 2: Connect The Optical Audio Cable to Your Speakers
Connect one end of the optical cable to your speakers’ optical digital audio input port. This is usually labeled “Optical In” or “Digital In.”
Step 3: Connect The Optical Audio Cable to Your PS4
Connect the other end of the optical cable to the optical digital audio output port on the PS4 console. This port is located on the back of the console and is labeled “Optical Out.”
Step 4: Turn On Your PS4 Console
With the optical audio cable connected to your PS4 and speakers, turn on your PS4 console. You should immediately hear the PS4 menu music through the connected speakers.
Step 5: Adjust The Audio Settings
Adjust the audio settings on your PS4 console as needed. You can change the audio output settings to adjust the sound quality and volume.
Method 4: Using an Audio Extractor
If your speakers do not have an optical audio input, you can still connect them to your PlayStation 4 (PS4) using an audio extractor. An audio extractor is a device that converts the PS4 audio to the correct input for your speakers, such as RCA or 3.5mm stereo. Here’s how to set it up:
Step 1: Purchase an Audio Extractor and Necessary Cables
First, purchase an audio extractor that converts optical audio to the input your speaker’s support, such as RCA or 3.5mm stereo. You’ll also need to purchase any necessary audio cables to connect the extractor to your speakers.
Step 2: Connect The Optical Audio Cable to The Audio Extractor
Connect the optical audio cable from the PS4 to the optical input on the audio extractor. This will allow the extractor to receive the PS4 audio signal.
Step 3: Connect The Audio Extractor to Your TV
Connect the audio extractor HDMI output to your TV HDMI input using another HDMI cable. This will allow the PS4 video signal to pass through to your TV.
Step 4: Connect The Audio Extractor to Your Speakers
Use audio cables to connect the audio extractor audio outputs to your speaker inputs. This will allow the audio signal to pass through to your speakers.
Step 5: Power On Your PS4 System
With everything connected, power on your PS4 system. You should now hear PS4 audio through the connected speakers. You may need to adjust PS4 audio settings and volume levels on the extractor and speakers.
Method 5: Using a Stereo or Surround Sound System
Lastly, to connect speakers to PS4, you can use a stereo or surround sound system.
Step 1: Connect The Speakers to The Receiver
Connect the speaker wires to the correct speaker outputs on the receiver. The specific connections will depend on if you have a stereo or surround sound system. Ensure the speakers are connected to the correct inputs.
Step 2: Connect PS4 to Receiver HDMI IN
Connect an HDMI cable from the HDMI output on the PS4 to an available “HDMI IN” port on the back of the receiver.
Step 3: Connect Receiver HDMI OUT to TV
Connect a second HDMI cable from the “HDMI OUT” port on the receiver to an available HDMI port on your TV.
Step 4: Power On Devices and Select Inputs
Power on your TV, receiver, and PS4. Use the receiver remote to select the proper HDMI input source. Then use the TV remote to select the proper HDMI input source to display the signal from the receiver.
Step 5: Alternatively Connect TV to Stereo Receiver
If your stereo receiver has an HDMI OUT or Optical Out port, you can connect your TV to the receiver instead of connecting the receiver to the TV. Connect an HDMI or Optical cable from the output port on the receiver to the corresponding input on your TV. Then select the proper input on your TV to display the audio and video signal from the receiver.


